Fabrication Process
-
Layer Materials
Taxel Layers Diagram

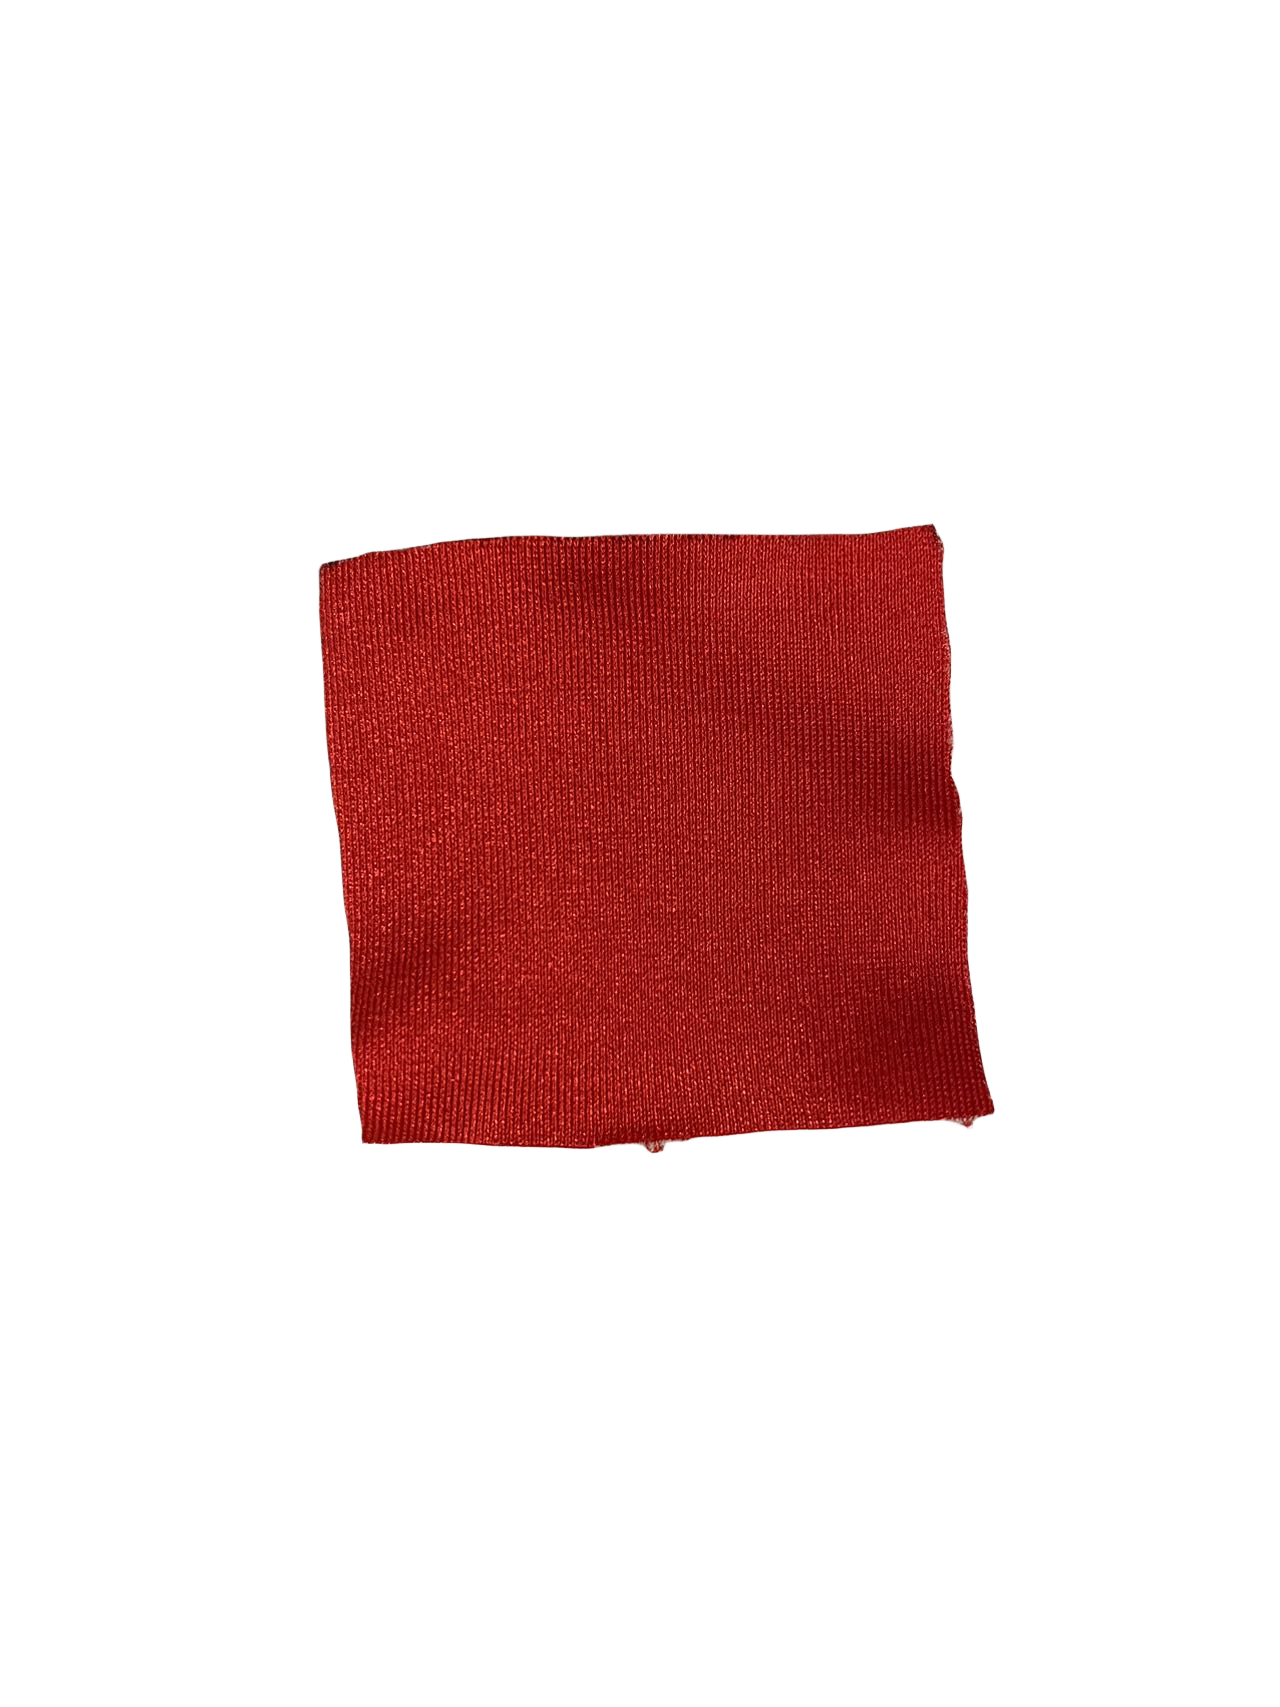
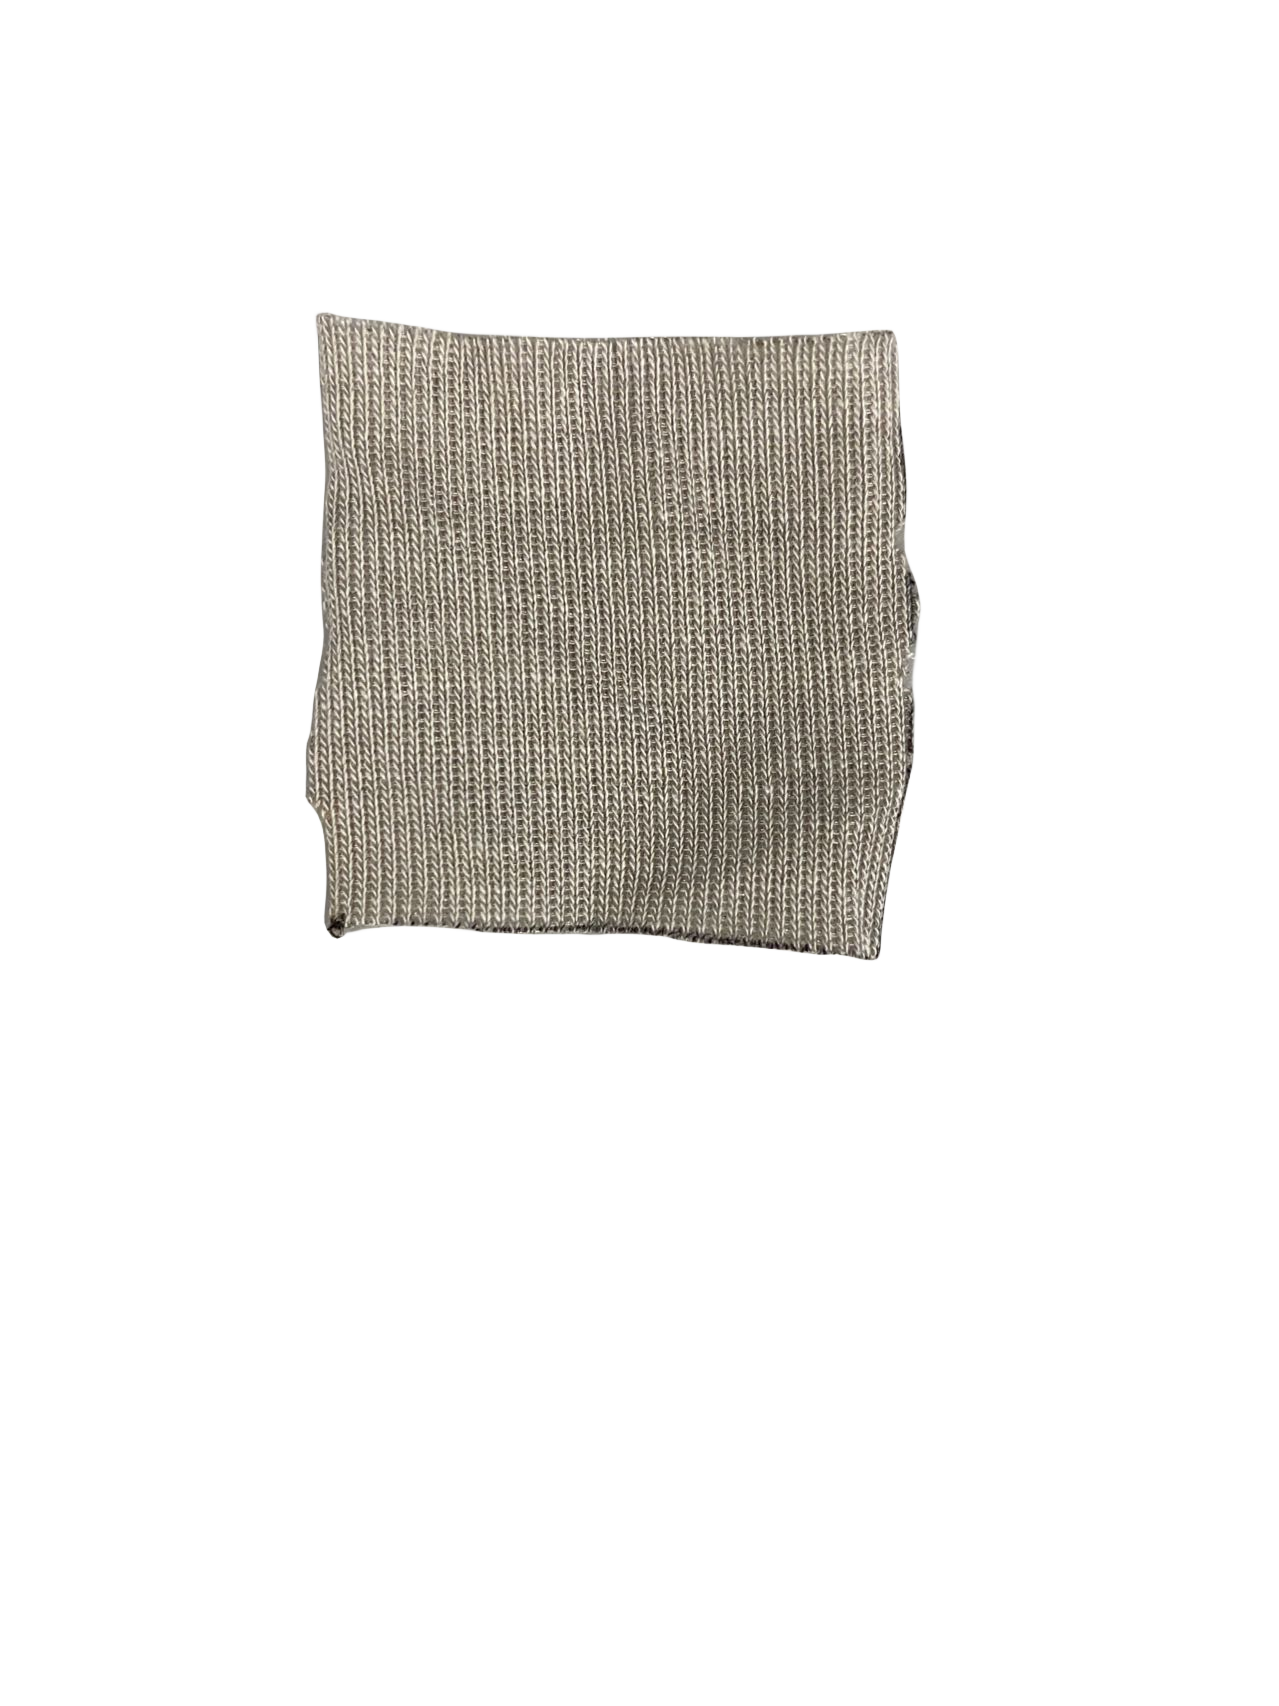
A single taxel is composed of nine layers. Among them, the top two layers and the bottom two layers serve as passive shielding layers. We used an outer garment to act as a supportive structure for these two layers, enclosing all of the taxels in each link.


2. Link Construction
(1) Outer and Inner Layers


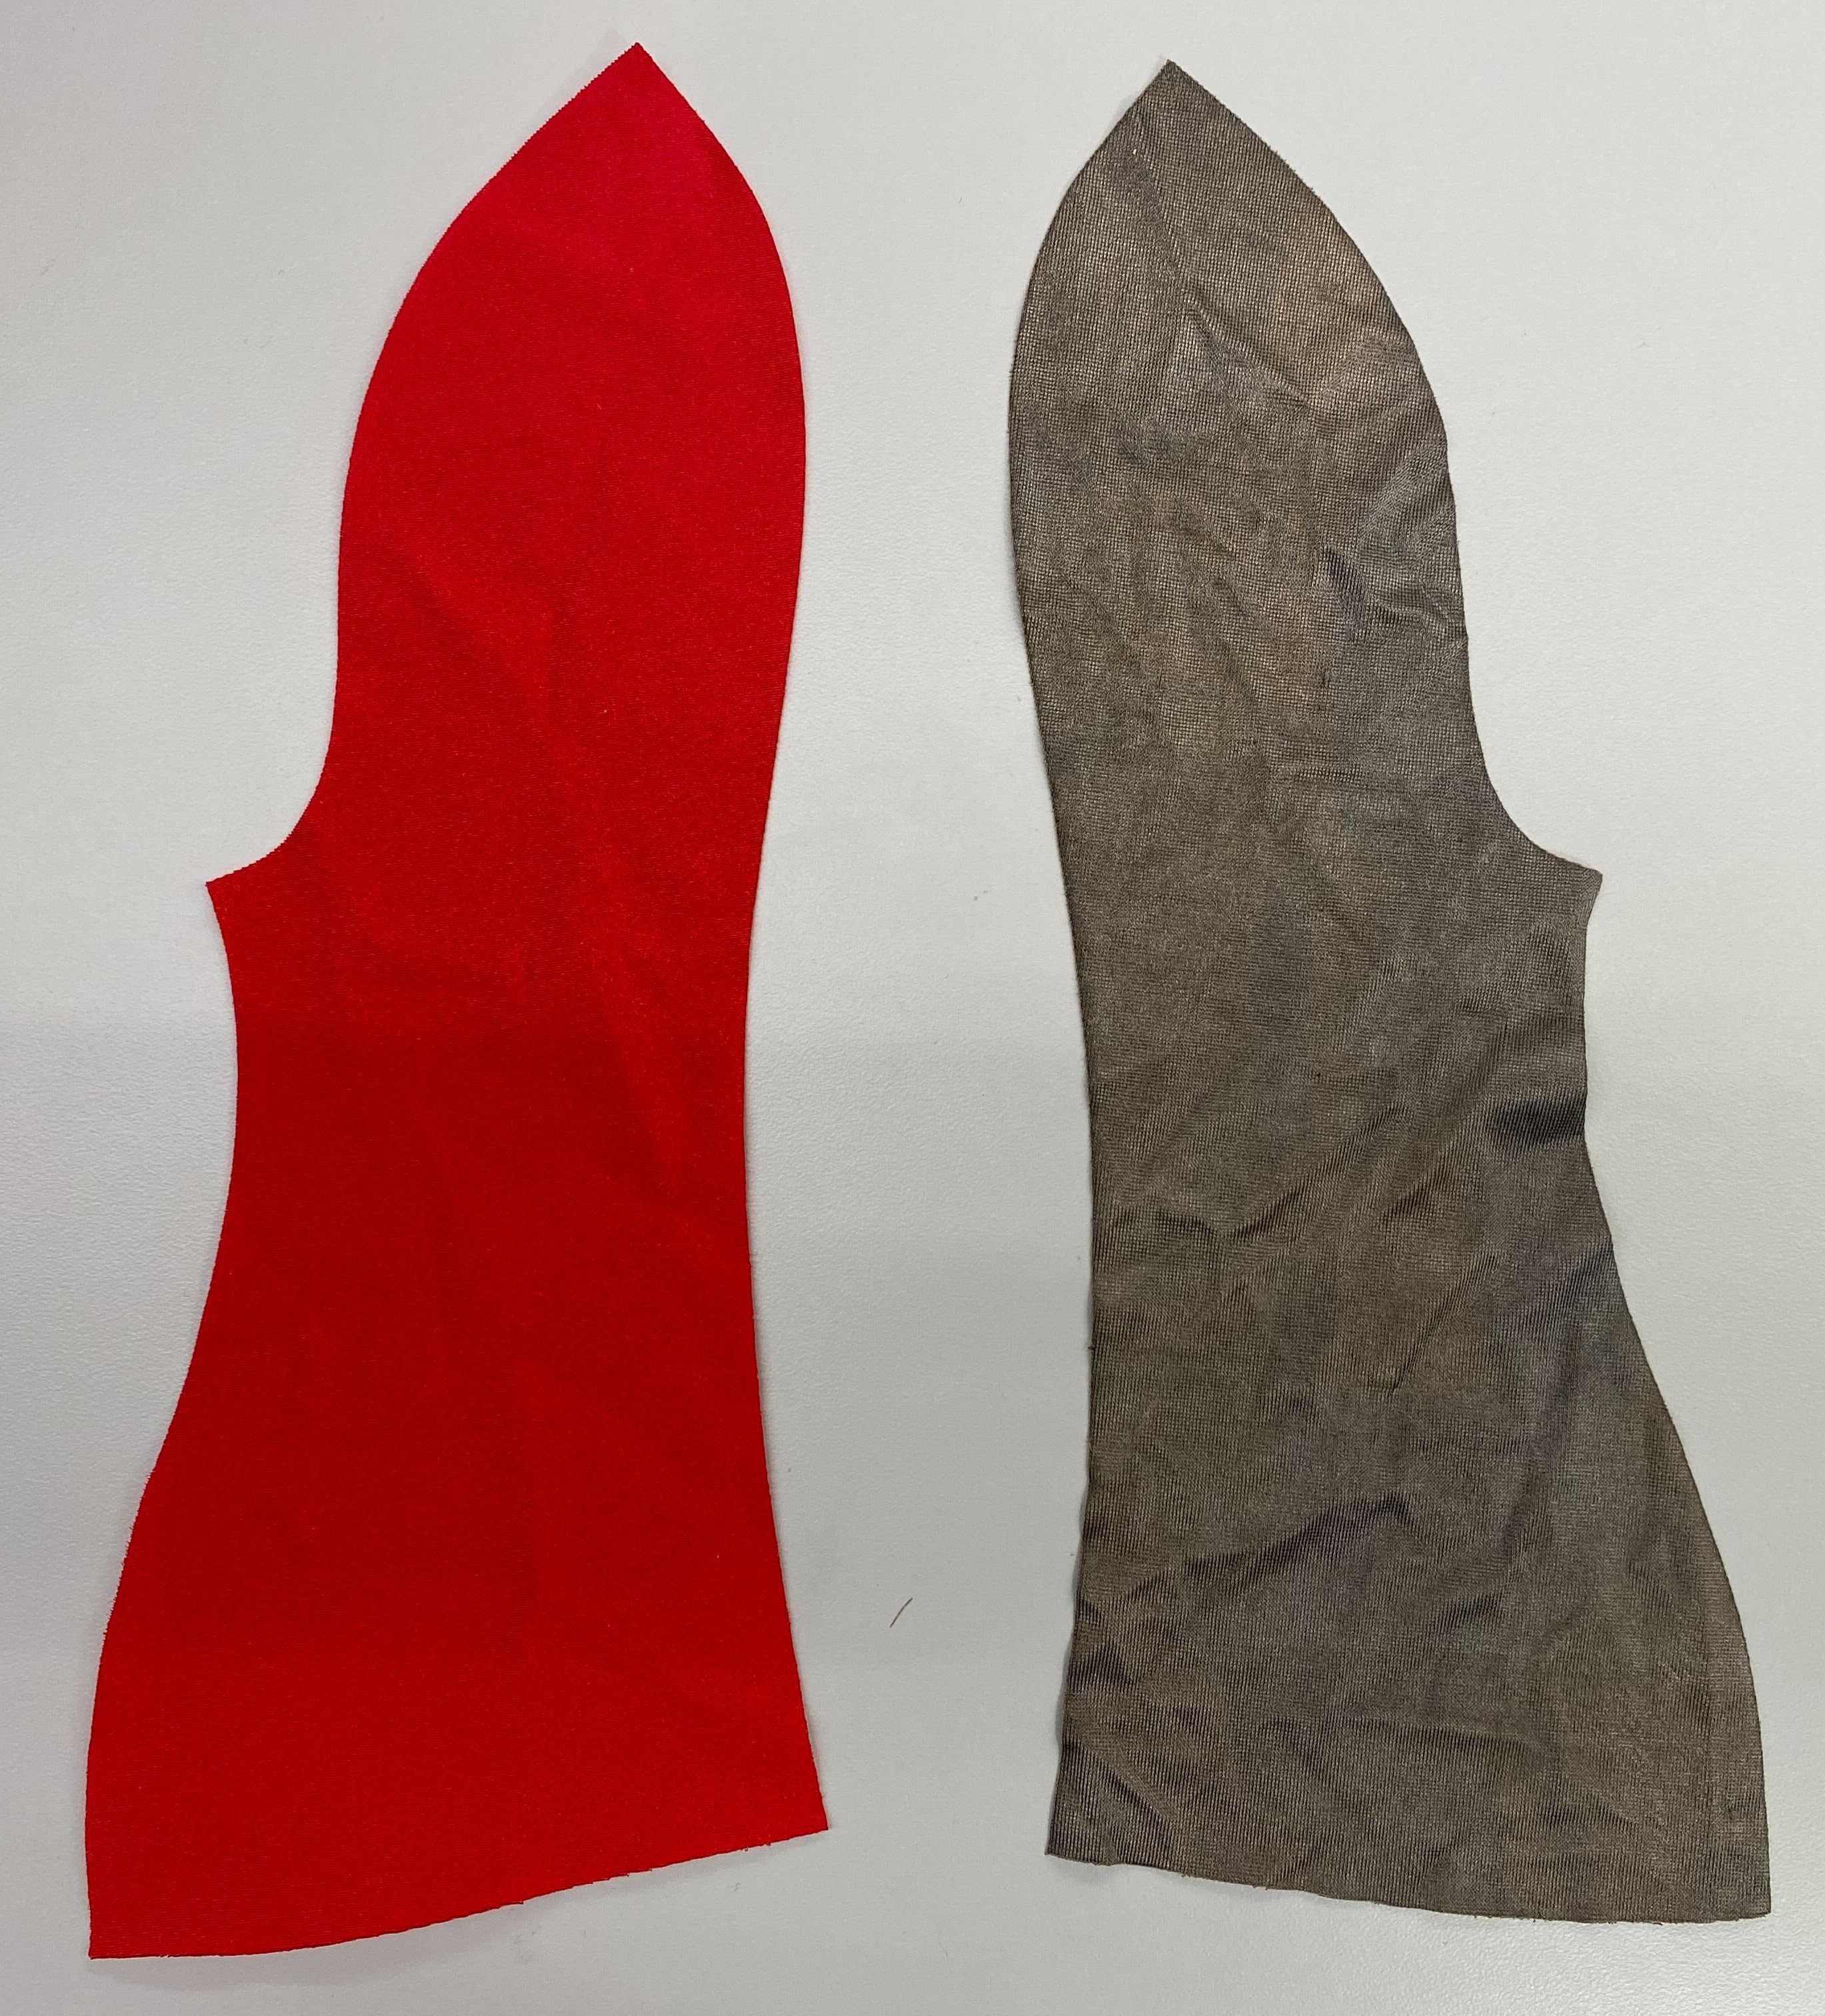
The Outer layer is composed of the top two layers and the inner layer is composed of the bottom two layers. They both function as passive shielding. To create garment-like outer and inner layers, please follow the following steps.
-
Use laser cutter to cut two pieces of cloth of a specific shape from fabrics A and B respectively. The .dxf file can be downloaded here (for large section, for small section).
-
Stack four pieces together (layers B-A-A-B), then sew them together on the side closest to the center.
-
Unfold the fabric that has been sewed at the center into two layers, one layer A and one layer B. Then sew them together on the side closer to the outside.
-
install the button on the raised area near the outer edge.
(2) Sew Wires on the Conductive Layers:
In order to obtain the capacitance data in the taxel and perform shielding function, we need to firmly connect the wires to some conductive and high-conductive layers. In general, the outer and inner layers each need to be fixed with a wire connected to the ground for passive shielding, and each of the three conductive layers needs to be led with a wire connected to the FDC1004 chip. Please follow the following steps to connect wires.


-
Cut a piece of wire to a suitable length. If it's for connecting conductive layers, make it shorter, about 5cm long. Also, try to keep the lengths of these wires as consistent as possible; if the wires are too short, it may result in a smaller readout capacitance value. If it's for use as passive shielding, make it a bit longer, ensuring it can be connected to the ground pin of the multiplexer.
-
Use a wire stripper to remove some of the insulation from both ends of the wire, exposing about 0.7cm length of the conductive copper wire.
-
Use wire crimper to crimp one ring connector on one side of the exposed copper wire.
-
Use conductive thread to sew the ring connector on the centre of the fabric.
-
Connect the other end of the wire to FDC1004 chip or ground on the multiplexer boards.
(3) Bond Layers with Glue and Tape:
In order to ensure the stretchability of taxel and also to firmly bond the layers, we picked fearless tapes and E6000 as the adhisive between layers. (Note: E6000 is toxic, please wear a mask while using it, and ensure proper ventilation.)
We used E6000 to connect layer D with layer C, and use fearless tapes to connect fabric material (D and E). Also, to secure taxels' position, we sewed them on the inner layer.
3. Cost
We calculated the cost of all the materials needed to make the skin, and the average cost of each taxel. The detailed price information can be found in this sheet.
Each taxel costs USD 6.91, and the whole skin composed of four links cost USD 386.71.
